

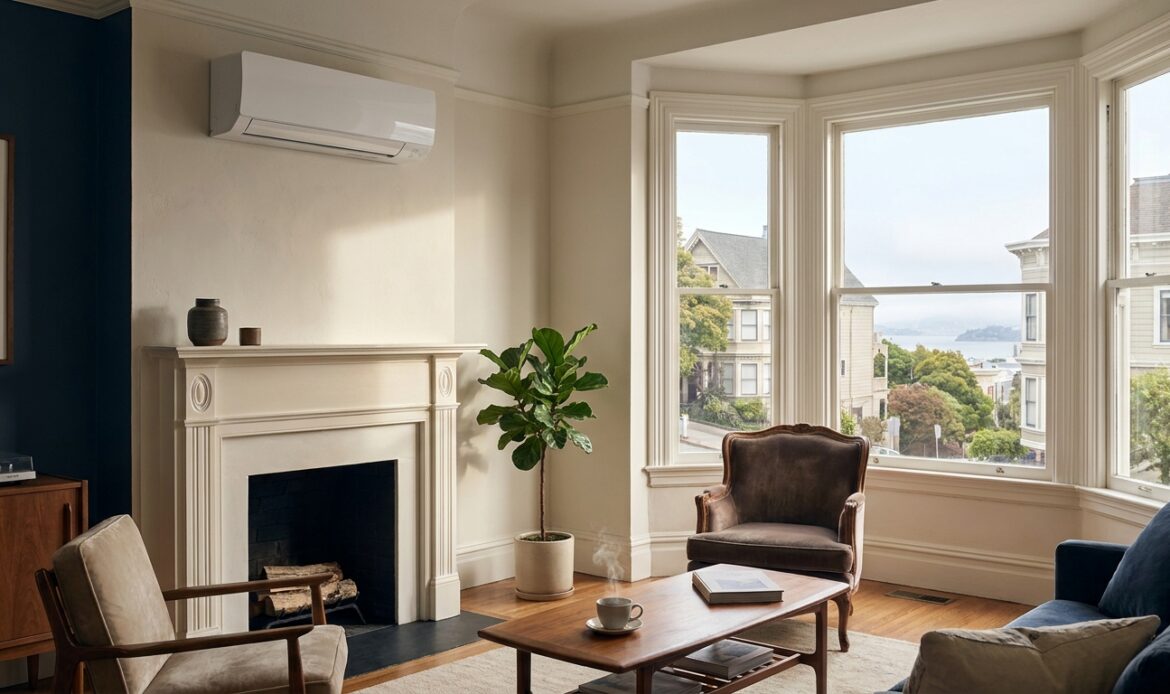
Ductless mini-splits solve the biggest problem in Sonoma, Marin, and Napa's older housing stock: no ductwork, tight crawl spaces, and walls that were never built to hide a plenum. Here's how the systems actually get installed in a pre-1970s Bay Area home and what determines whether the job goes smoothly or turns into a three-week electrical project.
TL;DR: Ductless mini splits work in older Bay Area homes because they need only a 3-inch wall penetration per zone, not a full duct system — but knob-and-tube wiring, undersized electrical panels, and plaster walls common in homes built before 1960 can add $800 to $2,500 to the job. Comfort Factor's crews treat electrical panel capacity and wall material as the two make-or-break checks before quoting installation. Verdict: mini-splits are the right call for most pre-1970 Bay Area homes without ducts — budget for an electrical inspection up front.
Why this matters
A huge share of housing in Petaluma, Sonoma, Napa, and the Marin County hills predates central forced-air systems entirely. Retrofitting ductwork into a 1948 bungalow with 2×4 rafters and a low crawl space typically costs more than the ductless system itself. Ductless mini-splits skip that problem by running refrigerant line sets through a single wall penetration, which is why they've become the default recommendation for homes without existing ducts across the best ductless AC installers in the Bay Area network in 2026.
The catch isn't the mini-split — it's everything around it. Old electrical, old plaster, and tight side-yard setbacks are the three things that turn a two-day install into a two-week one.
What you'll need
- A home built before 1980 without existing central ductwork, or with ducts too small or leaky to reuse
- Electrical panel capacity check — most single-zone systems draw 15-20 amps, multi-zone units draw more
- Clear exterior wall space for the outdoor condenser, minimum 12 inches of clearance on each side
- Access to the wall cavity for the 3-inch line set penetration (plaster and lath walls need extra care)
- A load calculation for each room you're conditioning, not a flat square-footage guess
- Budget range for 2026: single-zone systems commonly run $4,000-$8,000 installed; multi-zone setups covering 3-4 rooms run higher depending on line set length
- Permit awareness — most Bay Area counties require an electrical and mechanical permit for mini-split installs
The steps
1. Assess your home's structural quirks
Older Bay Area homes hide problems behind their walls. Knob-and-tube wiring, horsehair plaster, and redwood framing are common in homes built before 1955 in Sonoma and Marin. A contractor needs to identify wall composition before quoting line set routing, because plaster cracks differently than drywall and redwood framing can shift the drilling angle. Common mistake: assuming every wall is drywall over standard studs — plaster walls in homes built before 1960 often need a different coring tool and take 30-45 extra minutes per penetration.
2. Map your zones and airflow needs
Decide which rooms need independent temperature control. A 1920s Petaluma Victorian with a converted attic bedroom and a drafty original parlor needs different tonnage in each zone — a single central number won't work. Multi-zone systems support up to 4-8 indoor heads off one outdoor condenser, but each zone needs its own load calculation. Common mistake: oversizing a zone to be safe, which causes short cycling and humidity problems in coastal fog belts like Petaluma and western Sonoma County.
3. Check your electrical panel capacity
This is the step that surprises the most homeowners. A 1950s home with a 100-amp panel and an electric range, water heater, and dryer already on it may not have headroom for a new 240V circuit without a panel upgrade. Get a licensed electrician to confirm available capacity before signing an install contract. Common mistake: skipping this check and discovering the panel issue mid-installation, which adds both cost and days to the timeline.
4. Choose indoor and outdoor unit placement
Indoor heads need a straight, short run to the exterior wall — every extra foot of line set adds refrigerant charge and installation time. Outdoor condensers need at least 12 inches of clearance on all sides and should sit away from bedroom windows because compressor noise runs 45-60 decibels during operation. Common mistake: placing the condenser under a second-story window, which generates recurring noise complaints in tight-lot neighborhoods around Sonoma County.
5. Run a Manual J load calculation
Don't let anyone quote tonnage off a square-footage rule of thumb. Insulation quality varies wildly in homes built across different decades — a 1962 ranch with original single-pane windows loses heat at a different rate than a 2005 remodel with the same footprint. A proper load calculation for ductless mini-split installation in Sonoma County accounts for window count, insulation R-value, and ceiling height per room. Common mistake: using one manufacturer's rule-of-thumb chart instead of a room-specific calculation, which leads to systems that run constantly without ever reaching setpoint.
6. Confirm permits and rebate eligibility
Most Bay Area counties require a mechanical and electrical permit before work starts, and skipping this step can complicate resale disclosures later. Heat pump-based mini-splits also frequently qualify for state rebate programs — check current eligibility before you finalize your equipment choice, since rebate amounts and qualifying models change year to year. Common mistake: buying equipment first and asking about rebates after — some programs require pre-approval before installation begins.
7. Schedule installation and line set routing
A single-zone install in a straightforward home typically takes one full day; multi-zone systems with 3-4 indoor heads often take two to three days depending on line set distance and wall material. Plaster and stucco exteriors both add time versus wood siding. Common mistake: scheduling installation during a heat event — crews book solid across Napa and Sonoma County in July and August of 2026, and older-home jobs with electrical surprises get pushed further out.
8. Commission and test the system
Once installed, the system needs vacuum testing on the refrigerant lines to remove moisture and air before charging — skipping this step is the single biggest cause of early compressor failure. A proper commissioning includes checking each zone's temperature differential and confirming the condensate drain has adequate slope, since older homes often have uneven foundations that complicate drainage. Common mistake: accepting a quick power-on check instead of a full vacuum and charge verification.
Troubleshooting
- System short cycles in one zone but not others — usually an oversized indoor head for that room's actual heat load; a load recalculation and possibly a smaller unit fixes it.
- Condensate drips near the wall penetration — common in homes with uneven foundations; check drain line slope, it needs a consistent downward pitch with no low points.
- Outdoor unit runs loud enough to hear indoors — check condenser placement against exterior wall thickness; older single-pane windows near the unit transmit more compressor noise than double-pane.
- Line set penetration cracked the plaster around it — happens when a crew uses a standard coring bit on lath-and-plaster without pre-scoring; a properly patched penetration shouldn't crack post-install.
- Electrical panel trips when the system runs — points to insufficient panel capacity that wasn't caught before installation; this needs an electrician, not an HVAC adjustment.
- Uneven temperatures between zones on the same condenser — check that each indoor head was sized off its own load calculation rather than an even split of total tonnage.
Tools and resources
- A licensed HVAC contractor familiar with pre-1980 Bay Area construction — see how to choose an HVAC contractor in the Bay Area for the questions to ask before signing
- A licensed electrician for panel capacity verification
- Manual J load calculation software or a contractor who runs one per room, not per home
- Current state rebate program details — check how to qualify for California heat pump rebates before finalizing equipment
- County permit office contact for mechanical and electrical permit requirements
What to do next
Get a home-specific electrical and load assessment before you get an equipment quote — the equipment is the easy part, the wall and panel are what determine your real cost. Comfort Factor evaluates both in the same visit for Bay Area homeowners across Sonoma, Marin, Napa, Solano, and Contra Costa counties.
FAQ
Do ductless mini-splits work well in homes built before 1960?
Yes — mini-splits are often a better fit for pre-1960 Bay Area homes than retrofitted ductwork, since they avoid the need to open plaster ceilings or squeeze ducts into a shallow crawl space. The main added cost is usually electrical panel work, not the mini-split itself.
How much does mini-split installation cost in an older Bay Area home in 2026?
A single-zone system typically runs $4,000-$8,000 installed in 2026, with older homes sometimes adding $800-$2,500 for electrical panel upgrades or plaster wall work. Multi-zone systems covering several rooms cost more depending on line set length and zone count.
Is a mini-split better than central AC for a home without ducts?
For a home with no existing ductwork, a mini-split is almost always cheaper and faster to install than adding a full duct system, since it needs only a single wall penetration per zone instead of a network of ducts through walls and ceilings.
How long does mini-split installation take?
A single-zone install in a straightforward home takes about one day; multi-zone installs with 3-4 indoor heads in an older home with plaster walls or electrical complications often run two to three days.
Will my old electrical panel handle a new mini-split?
It depends on existing panel load — a 100-amp panel already running a range, water heater, and dryer may not have headroom for a new 240V circuit without an upgrade. Get this checked before signing a contract, not after.
Do mini-splits qualify for California heat pump rebates in 2026?
Many heat pump-based mini-split systems qualify for state rebate programs in 2026, but eligible models and rebate amounts change year to year, so confirm current eligibility before purchasing equipment.
How noisy are outdoor mini-split condensers?
Outdoor units typically run 45-60 decibels during operation — comparable to a running refrigerator — but placement near bedroom windows or in tight side yards common in older Bay Area lots can make that noise more noticeable indoors.
Can one outdoor unit run multiple indoor heads in an older home?
Yes, multi-zone systems support up to 4-8 indoor heads off a single outdoor condenser, which works well for older homes with several small rooms needing independent temperature control instead of one central zone.
One last thing
The detail most homeowners miss: it's not the mini-split that determines your final price in an older Bay Area home, it's the wall material and the electrical panel behind it. Two identical quotes on paper can land $2,000 apart once a crew opens the wall and finds plaster instead of drywall, or a panel with zero spare capacity. Ask for the electrical check before you ask for the equipment quote — it's the number that actually moves.